1. T-Code:SPAD
點選完全管理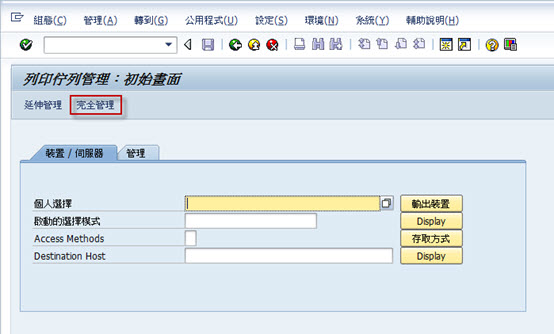
2. 點選“裝置類型”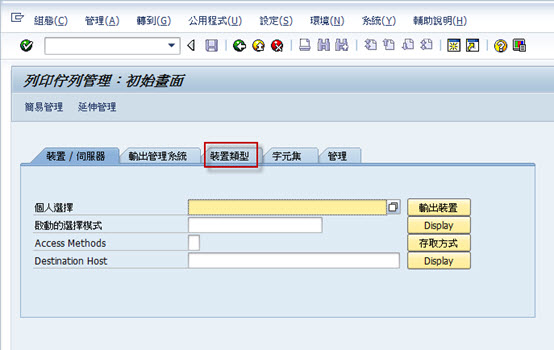
3. 點選格式類型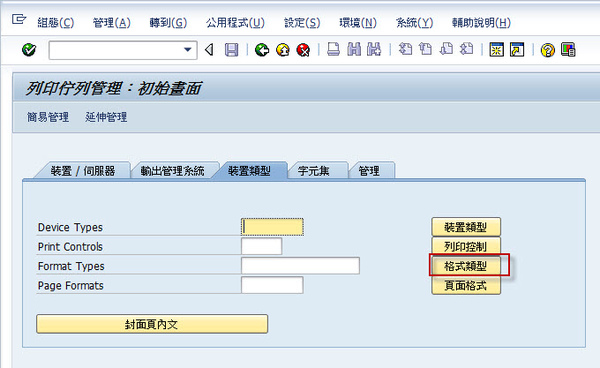
4. 點選“更改(F8)”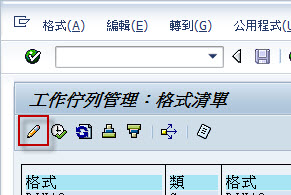
5. 點選“建立”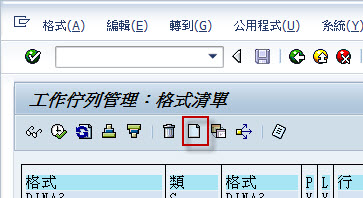
6. 格式類型—此為輸入該表的名稱
類型:有以為各類型可以選擇
一般我會選Format type for lists,因為該類型可以用在全部的輸出裝置中,其他的尚待研究
The following types of format types are defined:
6.1 Format type for lists (L)
The guaranteed number of lines and columns is defined on the output as an additional attribute
6.2 Format type for SAPscript (S)
A page format is defined as an additional attribute
6.3 Format type for graphical output (G)
6.4 Format type for pure data (P)
These format types can be used for raw data interfaces.
6.5 Format type for other outputs (O)
These format types can be used for device types used for the output of uninterpreted data.
輸入各項屬性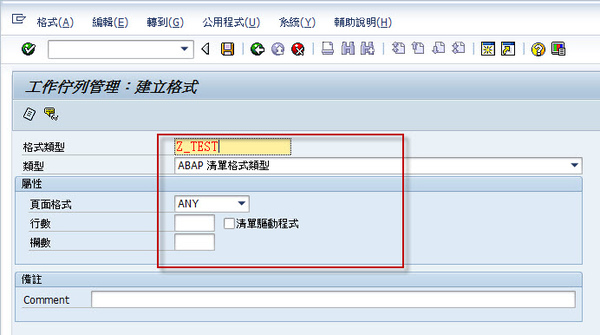
7. 輸入完點選存檔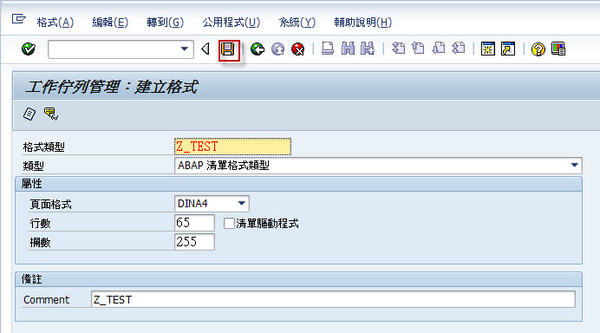
8. 選擇開發類別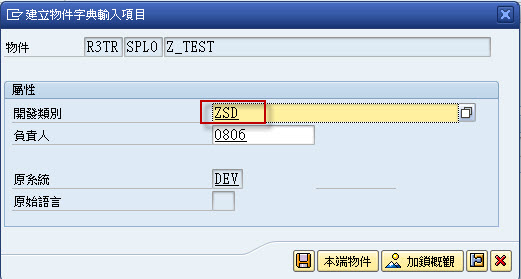
9. 建立一個新的請求
10. 輸入完“簡短說明”後按“存檔”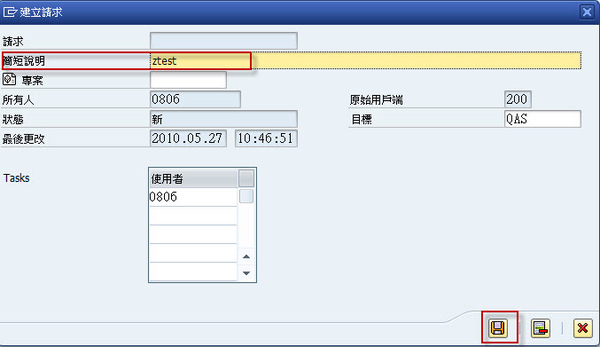
11. 按“退回”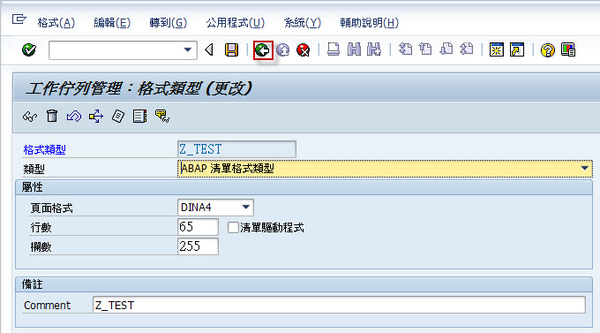
12. 按“退回”
13. 點選“裝置類型”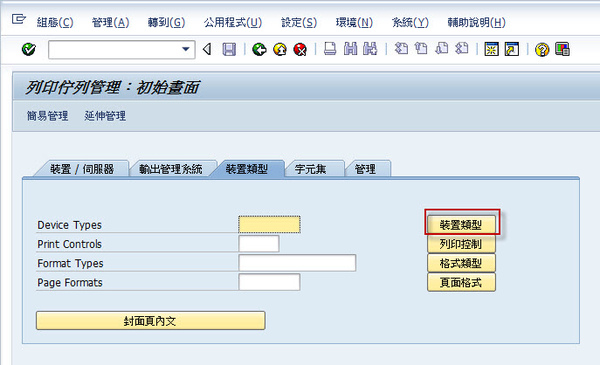
14. 移到“TWSAPWIN”(此為台灣地區所使用,設定要列印繁體的需在這類型中新增,如果要列印簡體則需選擇CNSAPWIN),然後點選“格式”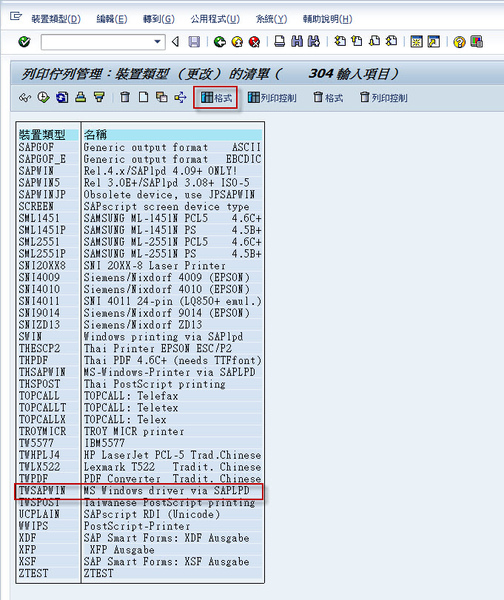
15. 點選“新增”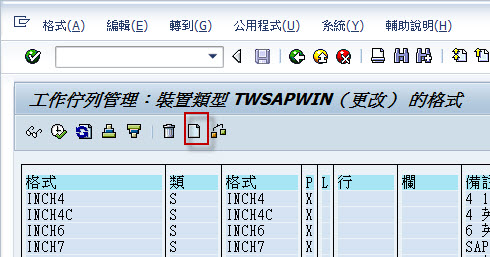
16. 輸入剛所建立的格式類型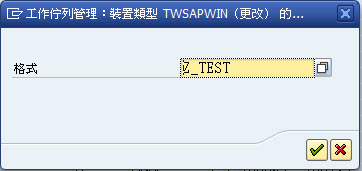
17. 點選“確定”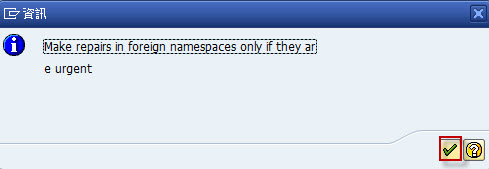
18. 可以自行設定格式,也可以直接進行複製格式,在此我們直接點選複製格式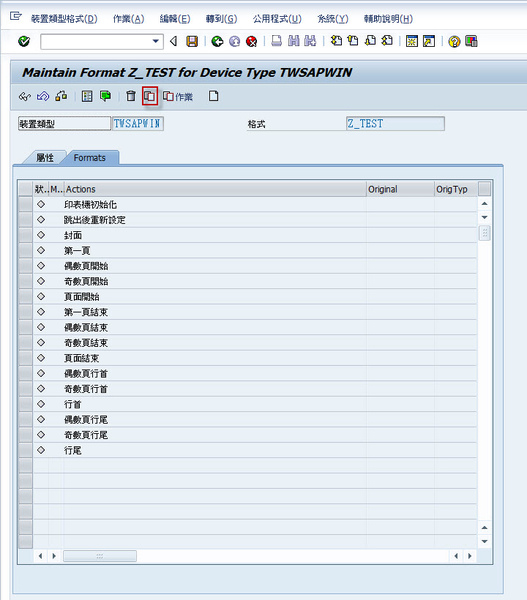
19. 選擇要複製的格式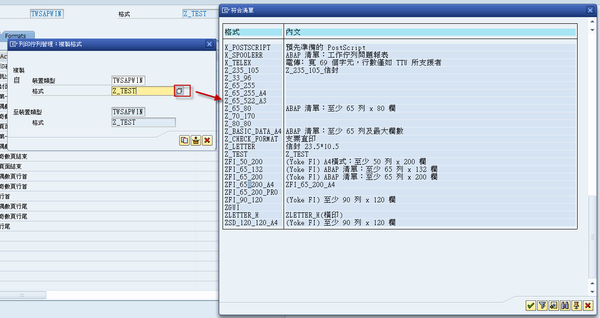
20. 確定後按複製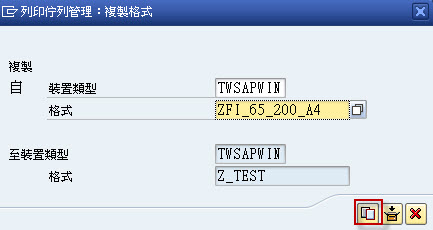
21. 複製完後可帶出該格式的參數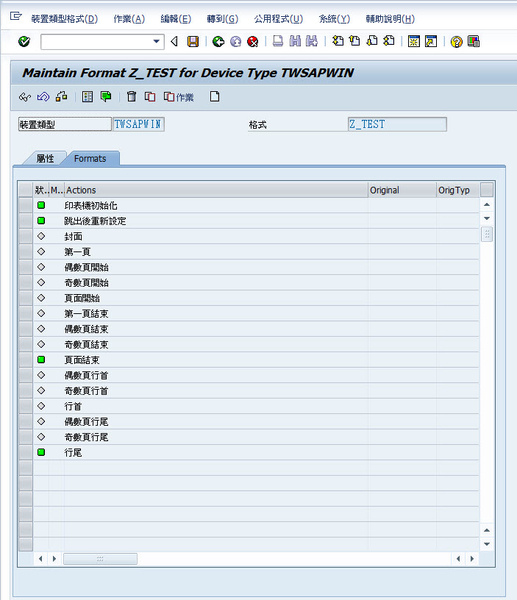
22. 一般我只會去設定“印表機初始化”,在“印表機初始化”上點選2下則可進行修改,參數說明如下
# TWSAPWIN ZFI_65_132
# SAPWIN indicatior makes it possible to send via berkeley protocol
\e%SAPWIN%
# change WinCharSet to 136
\eW136;
# set font name(MingLiU) 設置字體
\eFMingLiU;
# set orientation(LANDSCAPE) 橫向還時縱向打印,EPP為縱向,EPL為橫向,和很多貼說的都不同。
\ePL
# set font size(10.0points) 設置字體大小
\eS200X
# set vertical spacing(6.57LPI)設置內容的垂直大小
\el6.5;
# set horizontal spacing(16.0CPI)設置內容的水平大小
\ec16.0;
# set top/left margin(1.0cm/1.5cm) 置上邊距eMT和左邊距eML。
\eMT567;
\eML850;
# set right margin(0.1cm) 設置右邊距eMR
eMR56;
23. 修改完後按存檔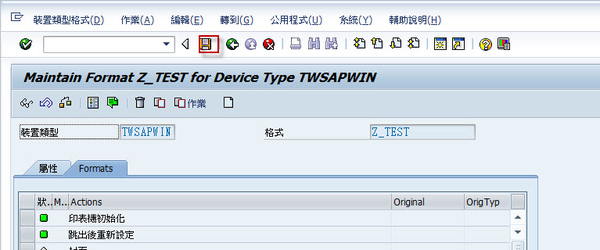
24. 可跟剛才的Request包在一起在傳到qas和prd的機器上
25. 按確定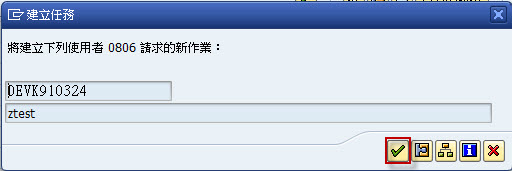
26. 這樣就完成一個格式的設定了!在請user確定列印後在進行參數的修改


 留言列表
留言列表
